Sensors are all around us telling us about our environment and helping us in our everyday lives…
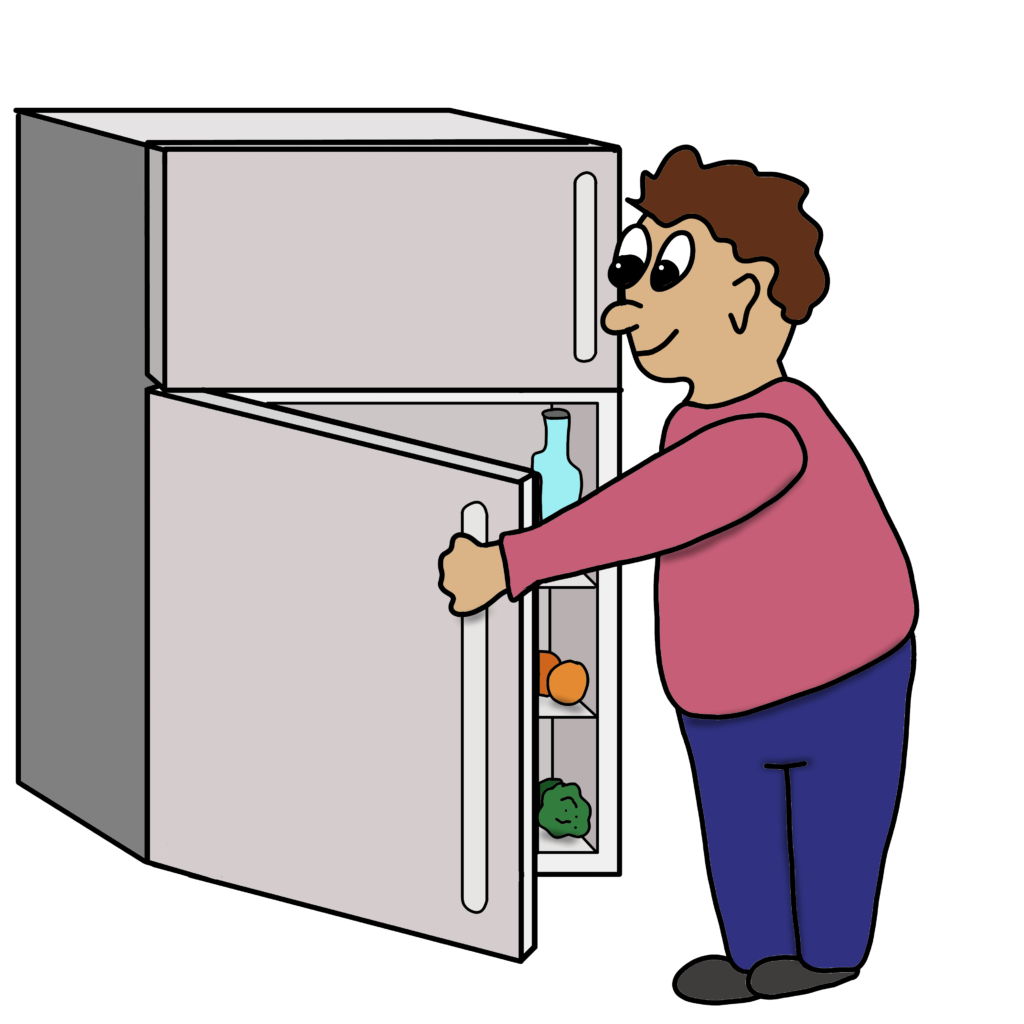
…in your refrigerator, sensors help to maintain the cold temperature and turn on the light when you open the door.
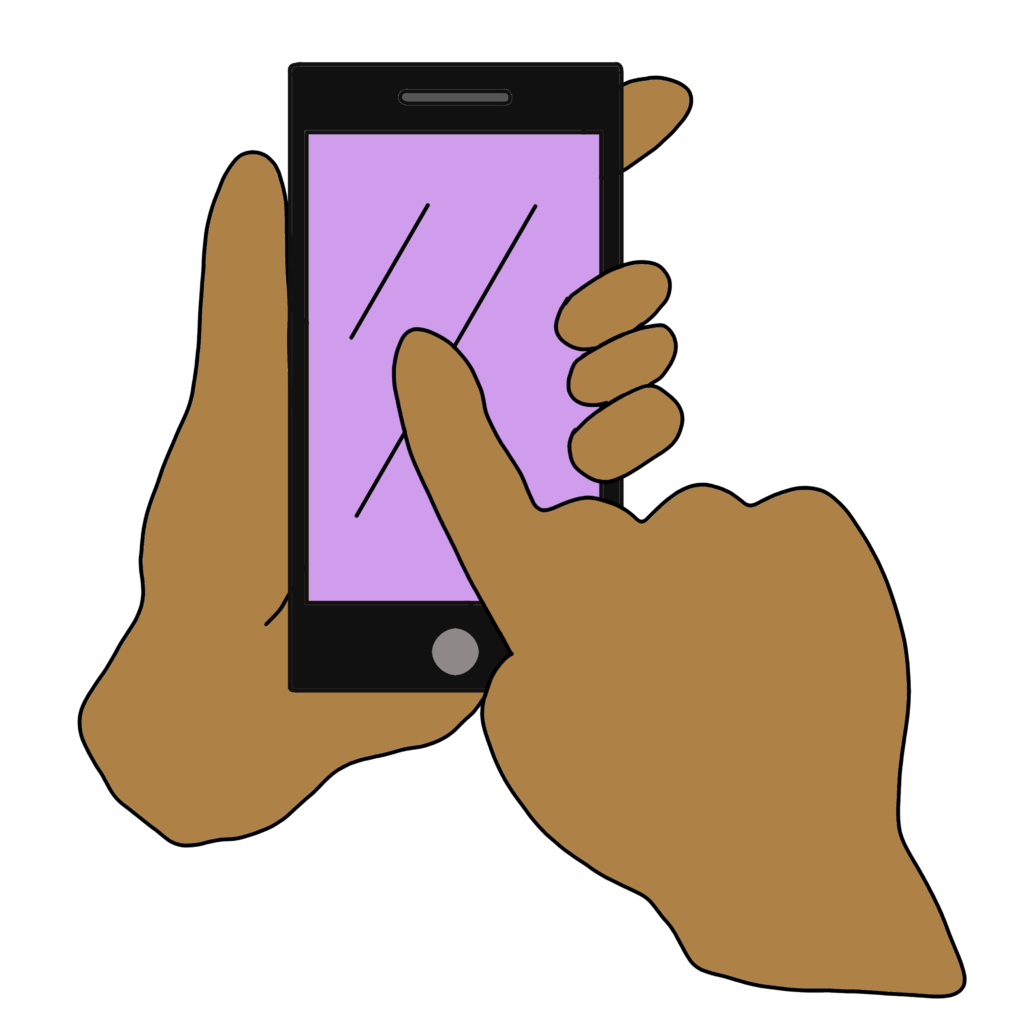
…in your smartphone, sensors in the touch screen let you interact with information on the screen.
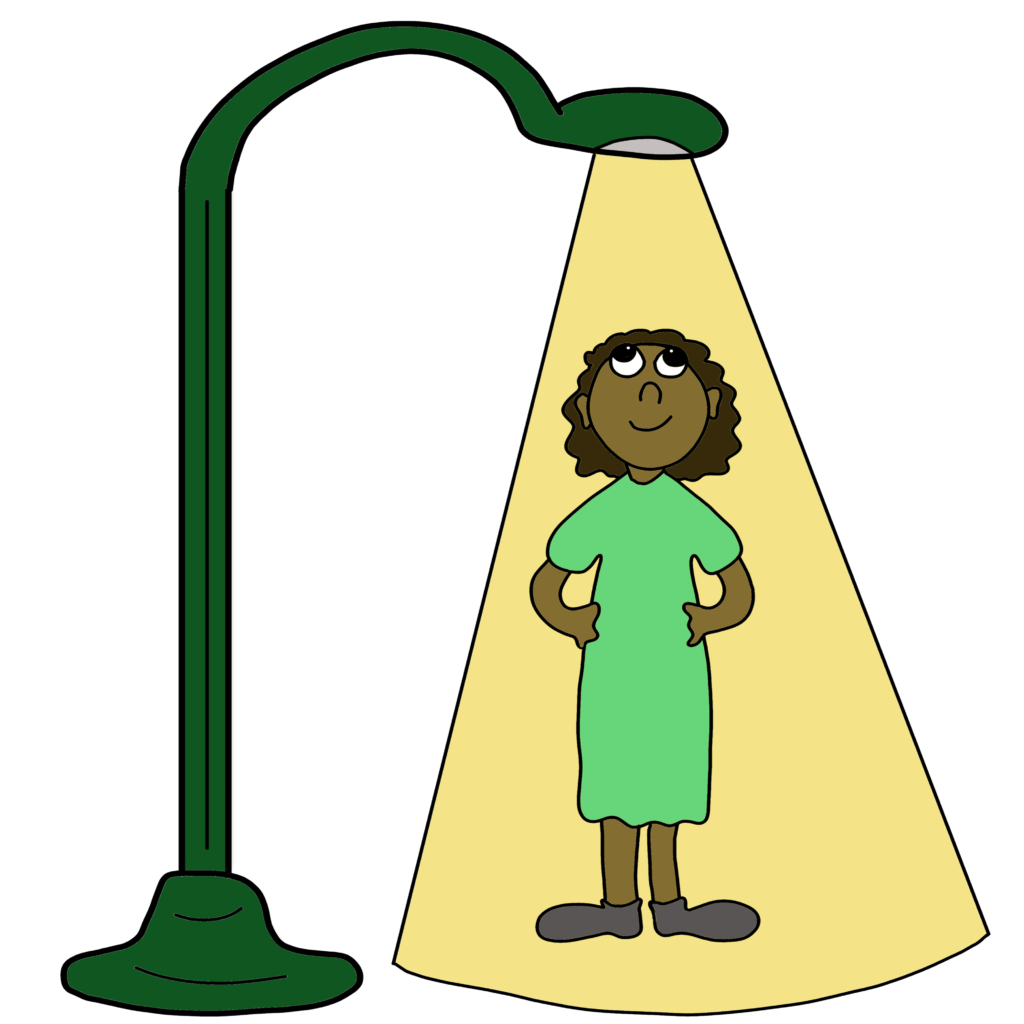
…on the street, sensors can signal to street lights when to turn on and off based on how dark it is outside.
Sensors are everywhere and it is empowering to know how they work! Public Sensors activities will help you build, understand and use your own sensors to study the environment around you.
Getting Oriented:
This activity set gives instructions to get you started using your microcontroller and will get you set up to do later sensor building activities. The instructions associated with this kit will provide enough detail to do the activities, but for further help, resources and for those who want more information check out the the following resources:
In these first activities, you will explore how to make basic circuits and set up your microcontroller.
Safety Advisory:
The materials you will use contain small parts. Please keep out of reach of small children. You will also be working with electricity which can be dangerous if you are not careful. Make sure to read instructions thoroughly before attaching constructed circuits to a power source like a battery or a computer. Keep food and water away from circuits (except for in specific activities where waterproof components are used). Make sure to wash your hands after using sensor parts. Parent or guardian supervision when constructing and using sensors is advised for elementary and middle school students.
Sensor Building Materials:
These are the materials you will need to build and use your sensor. All components are color coded with the legend below. Click on the icons below to be linked to more product information.
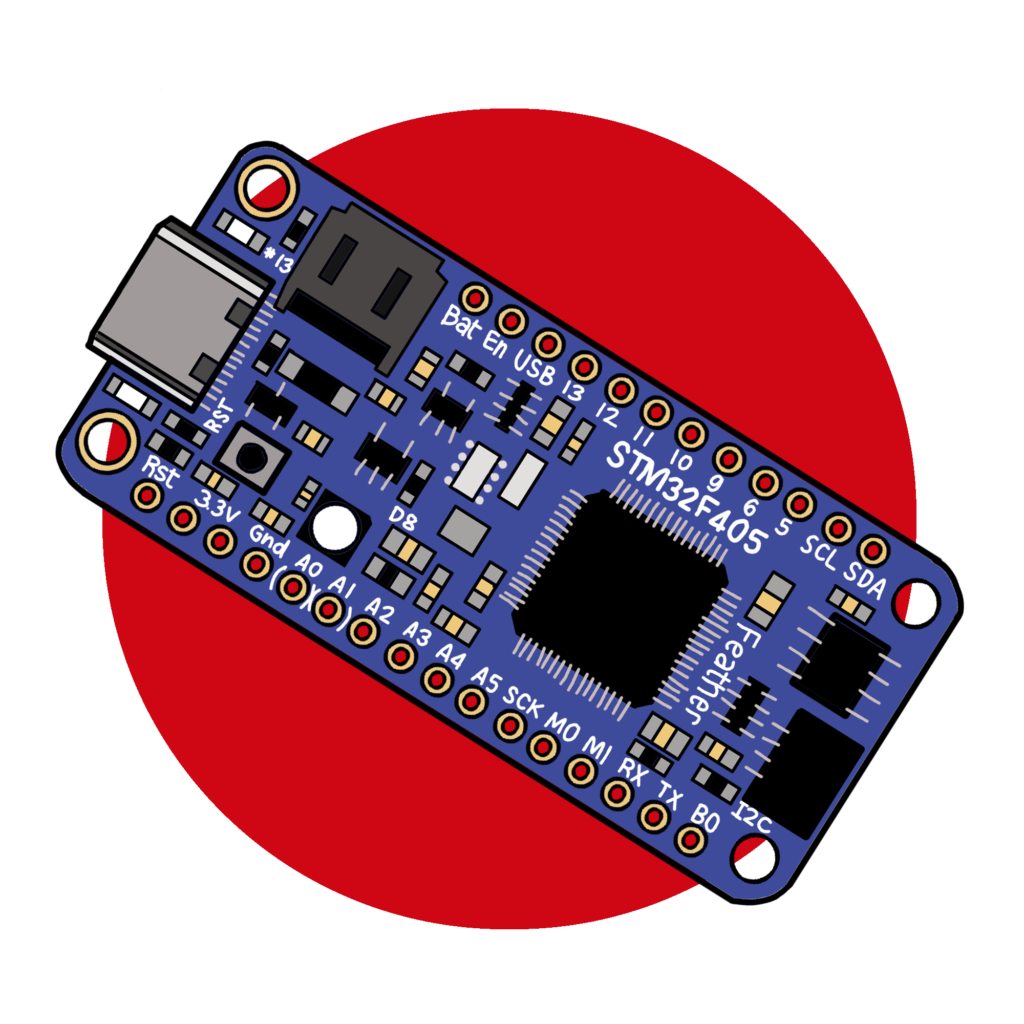
Microcontroller - a mini computer that serves as the brains of your sensor
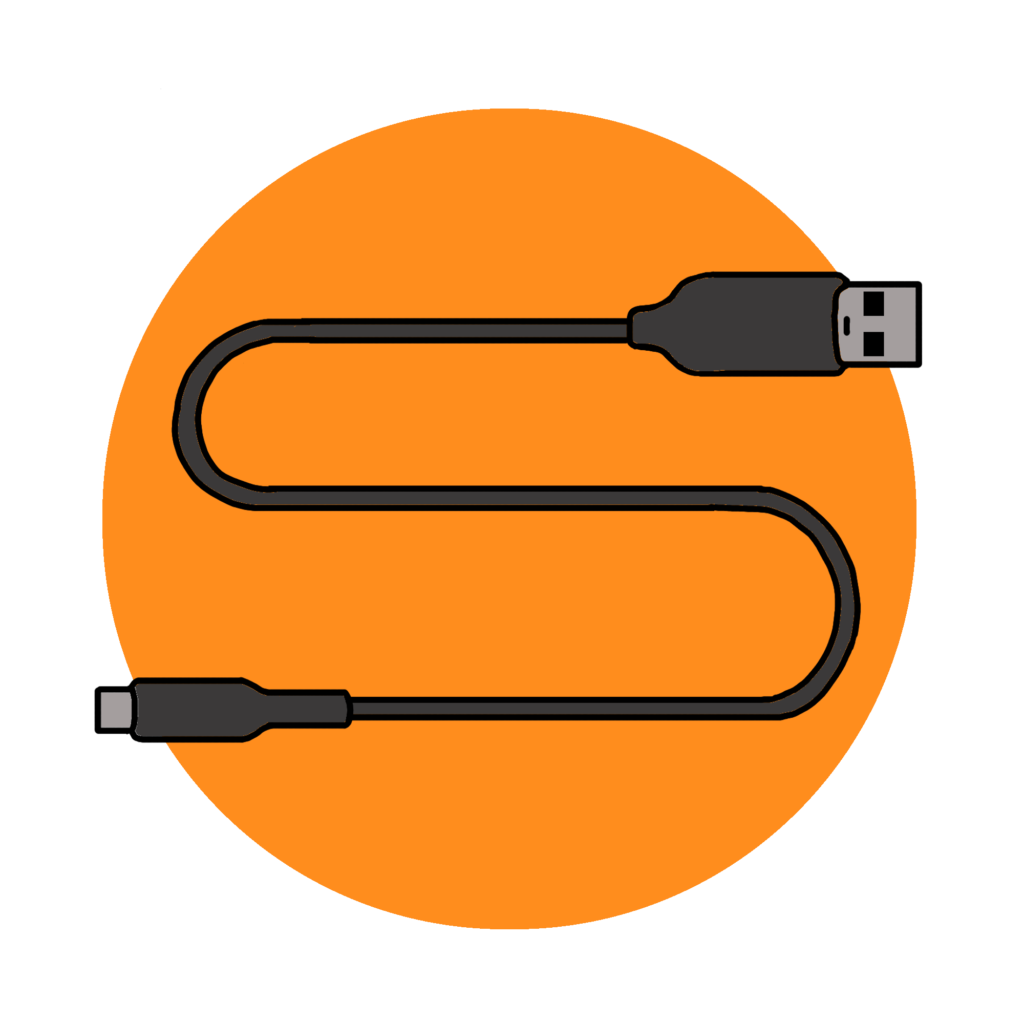
USB Cable - Connects your sensor to the computer so you can interact with it
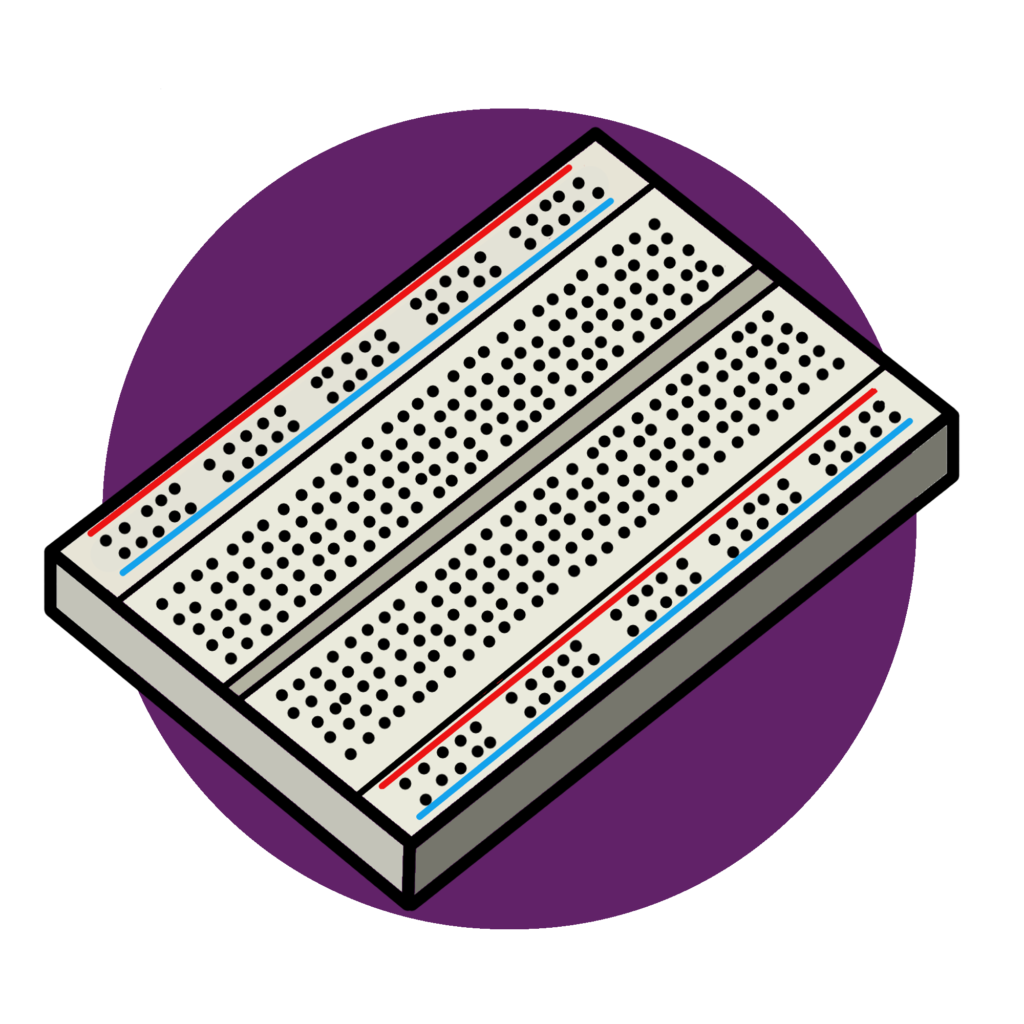
Breadboard - Helps you connect wires in your sensor circuits
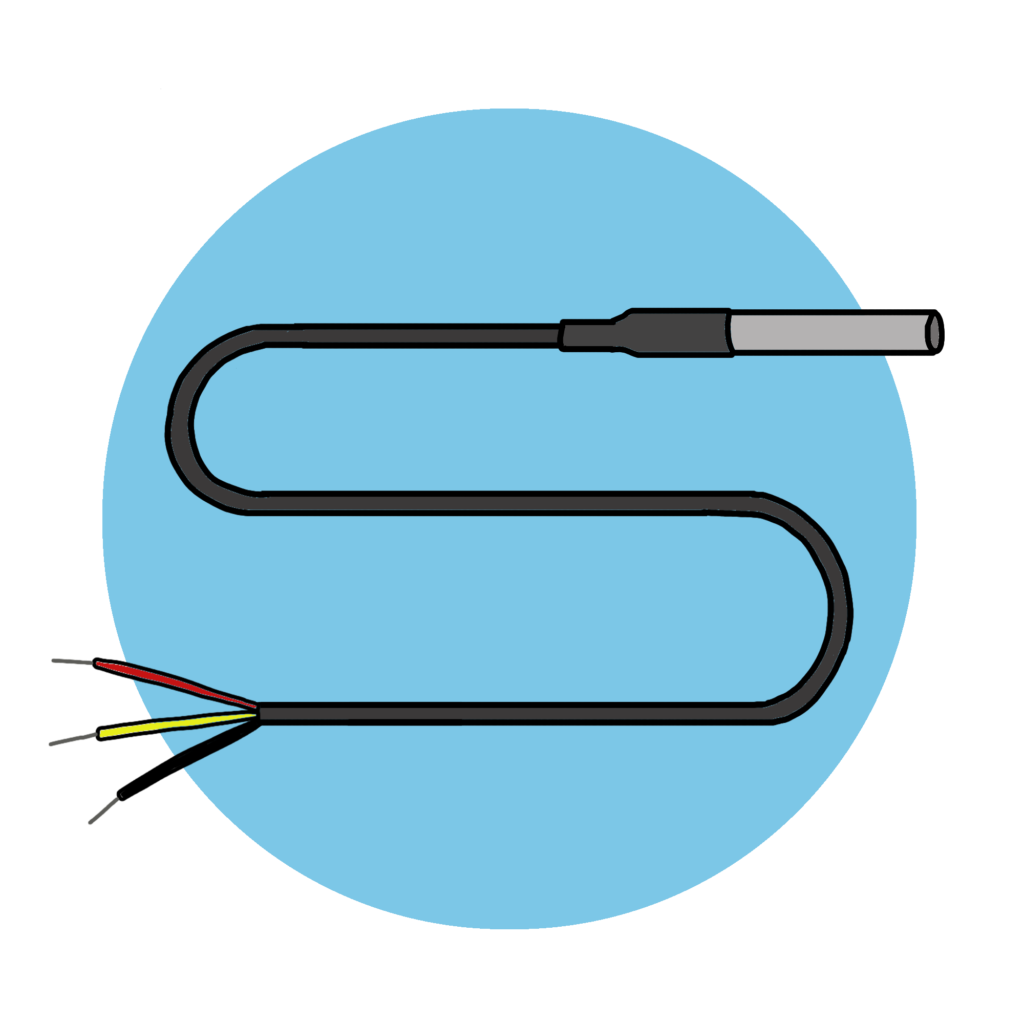
DS18B20 Temperature Sensor - Measures temperature digitally
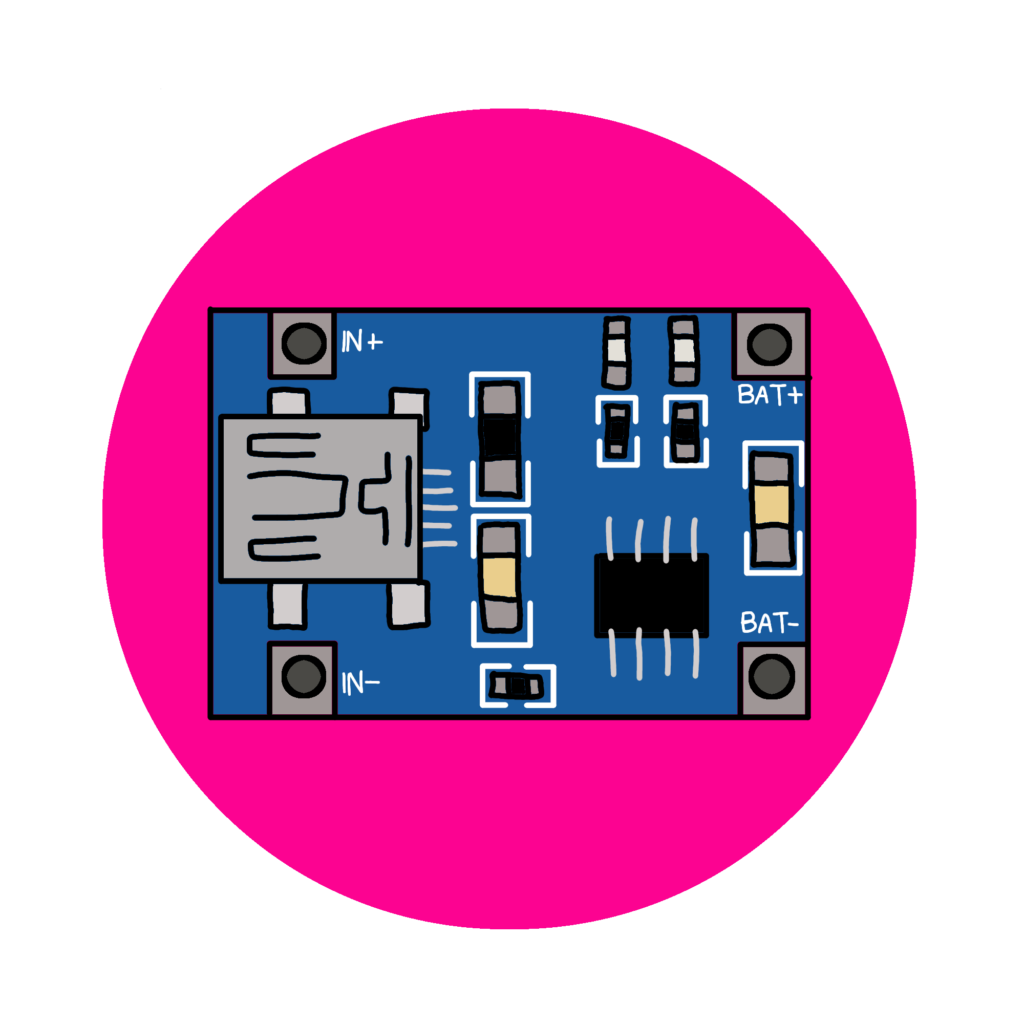
Battery Charger - Charges the battery
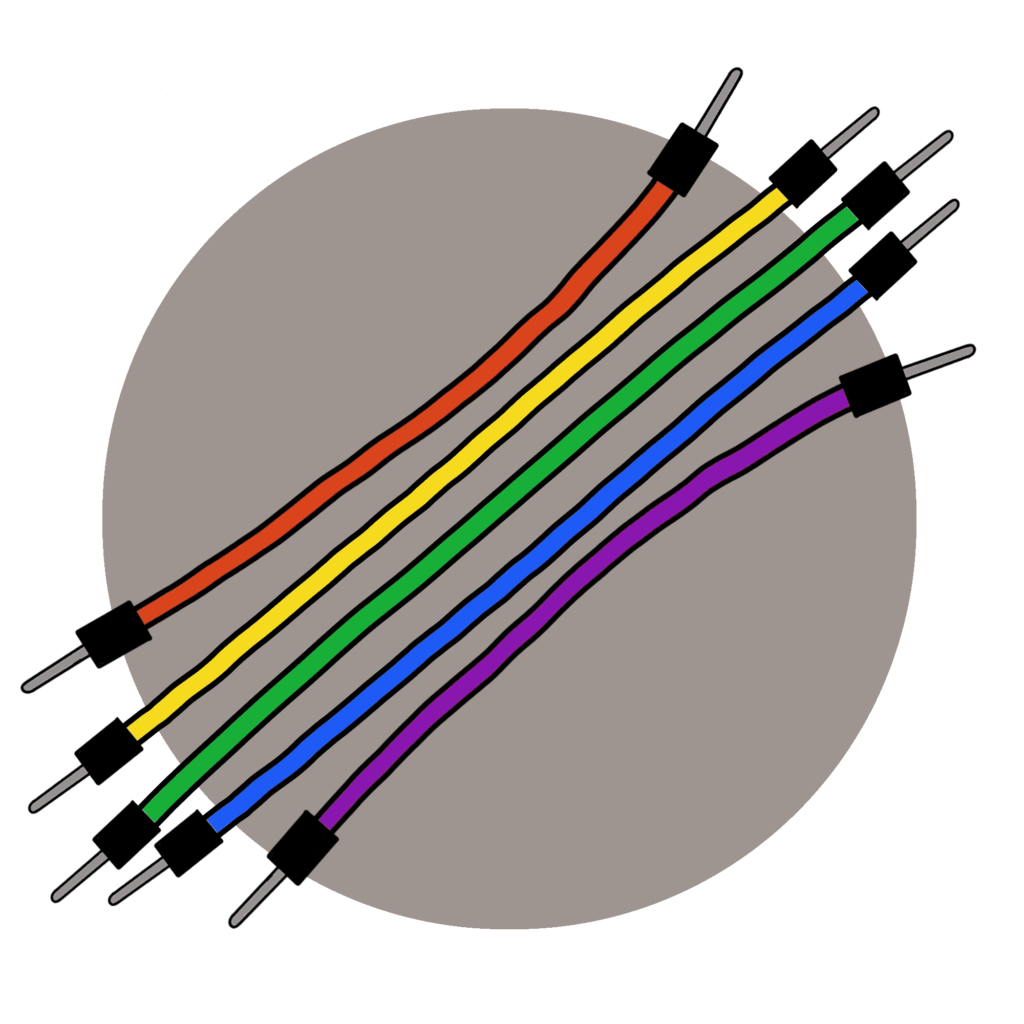
Jumper Wires - Connects parts of your sensor circuits together
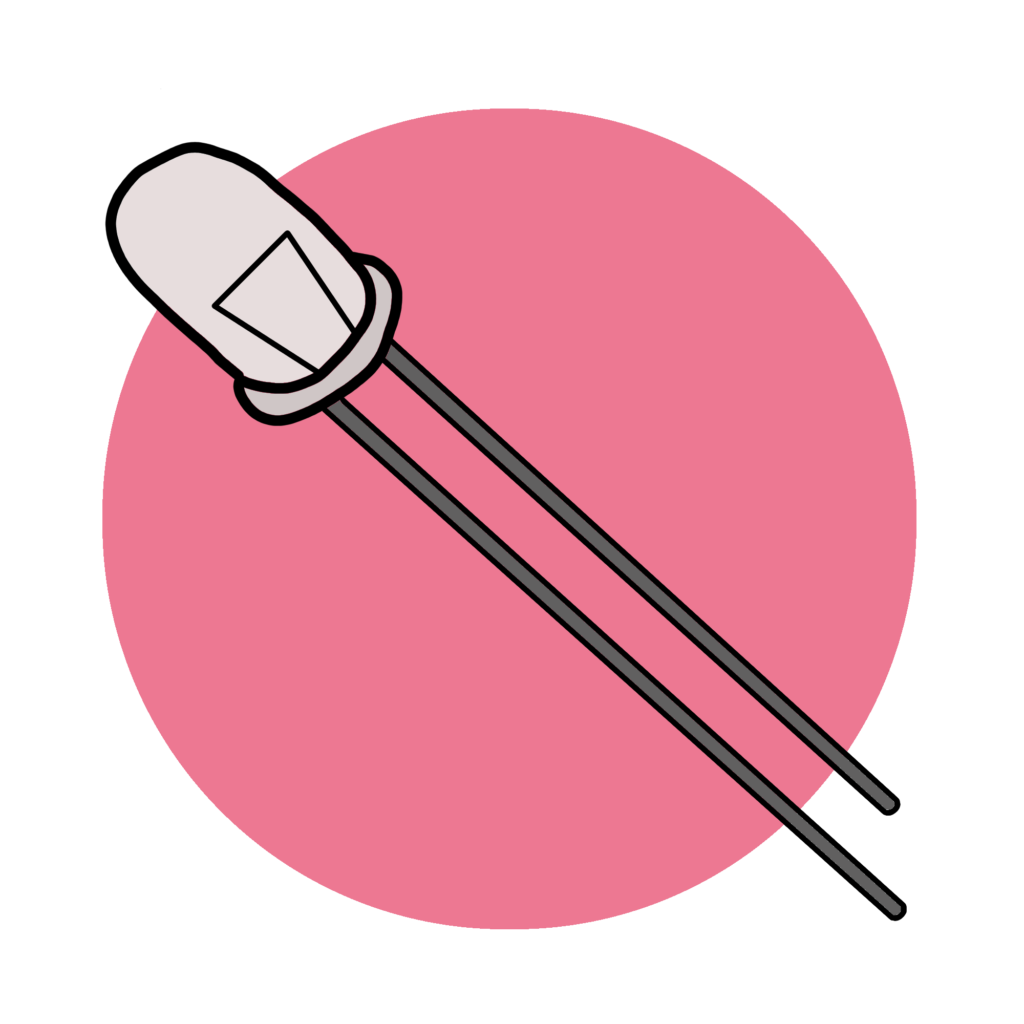
LED - A light source to include in your circuit
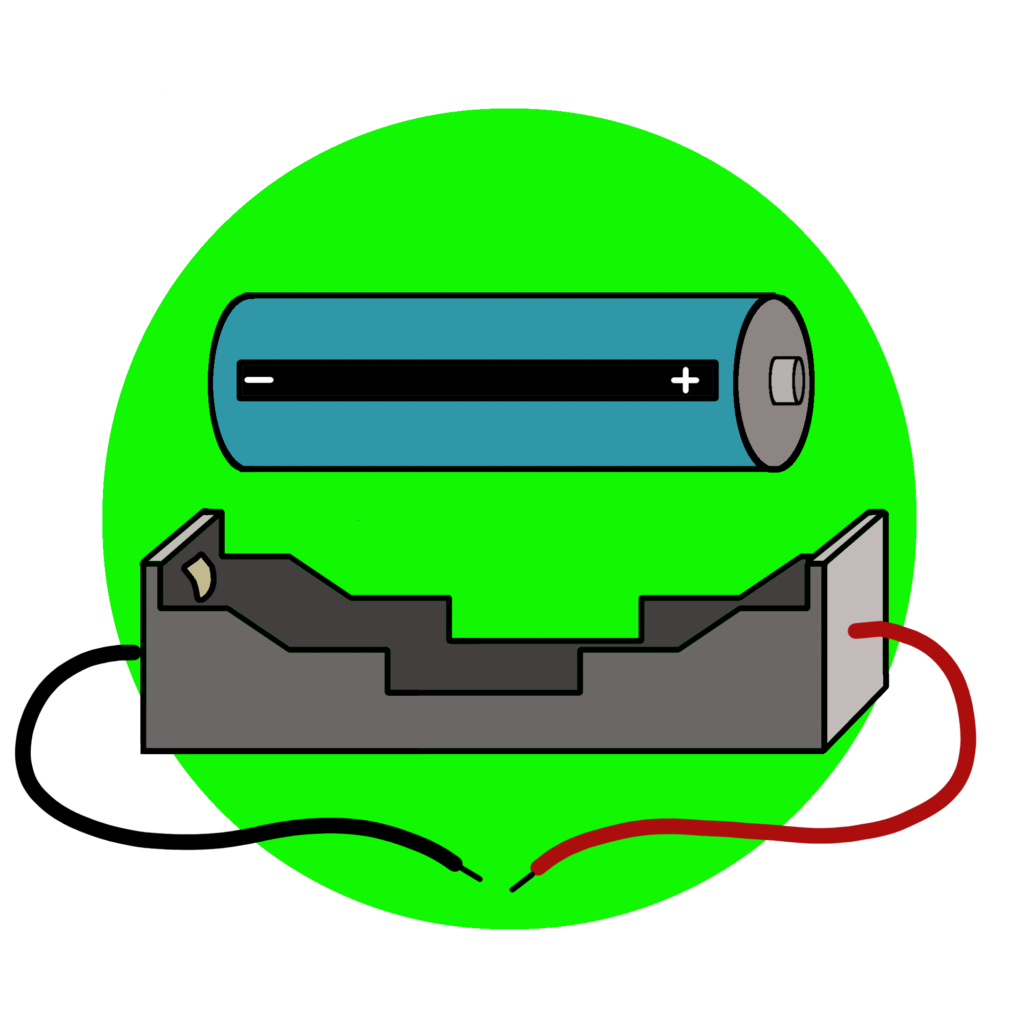
Battery and Battery Holder - A power source for your sensor
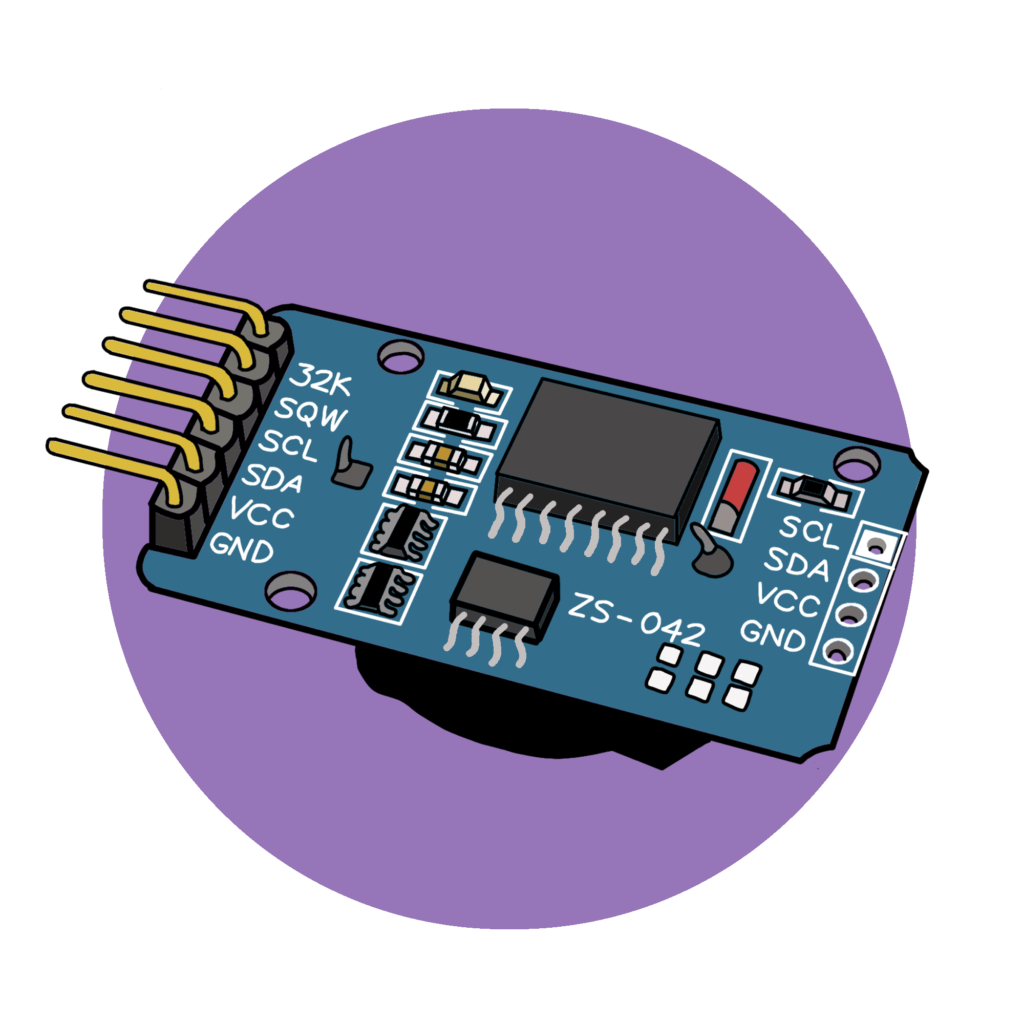
DS3231 Real time clock (1)
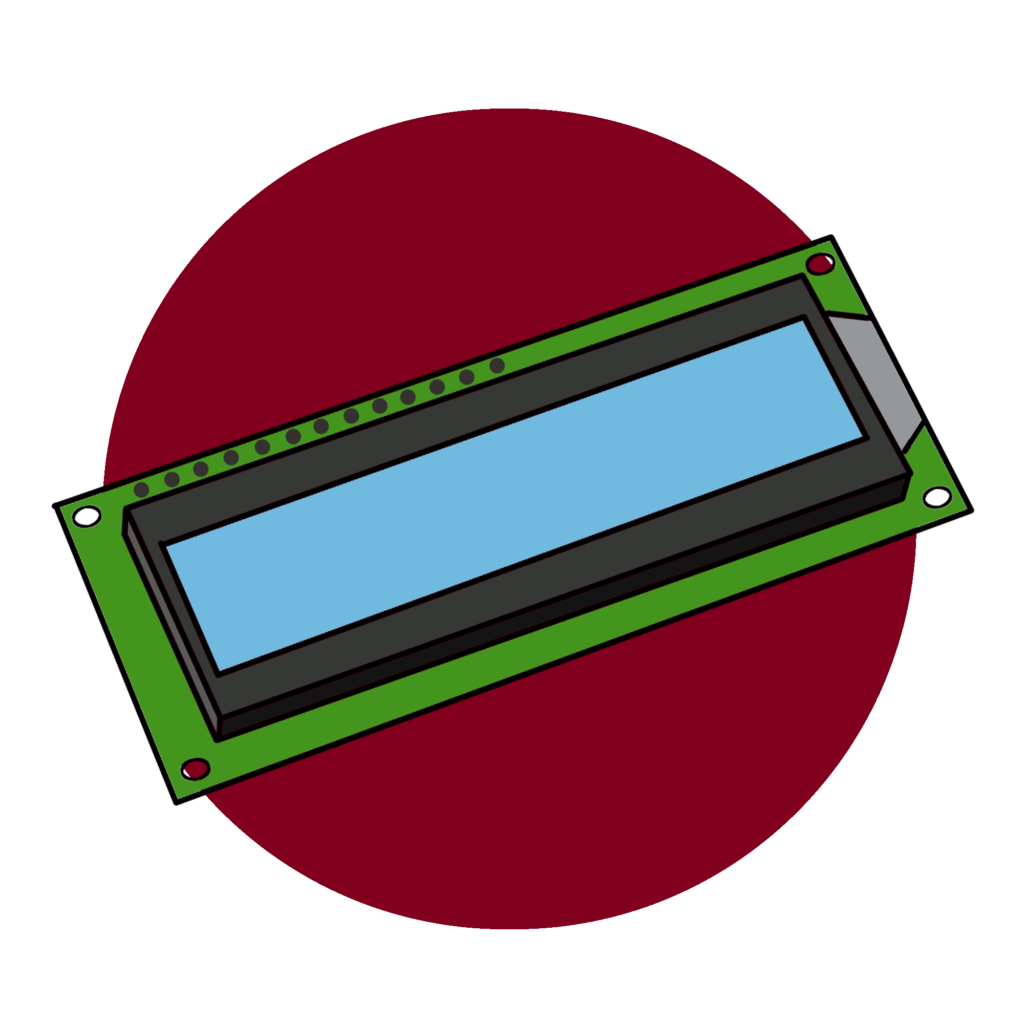
LCD Screen - Prints values from your sensor
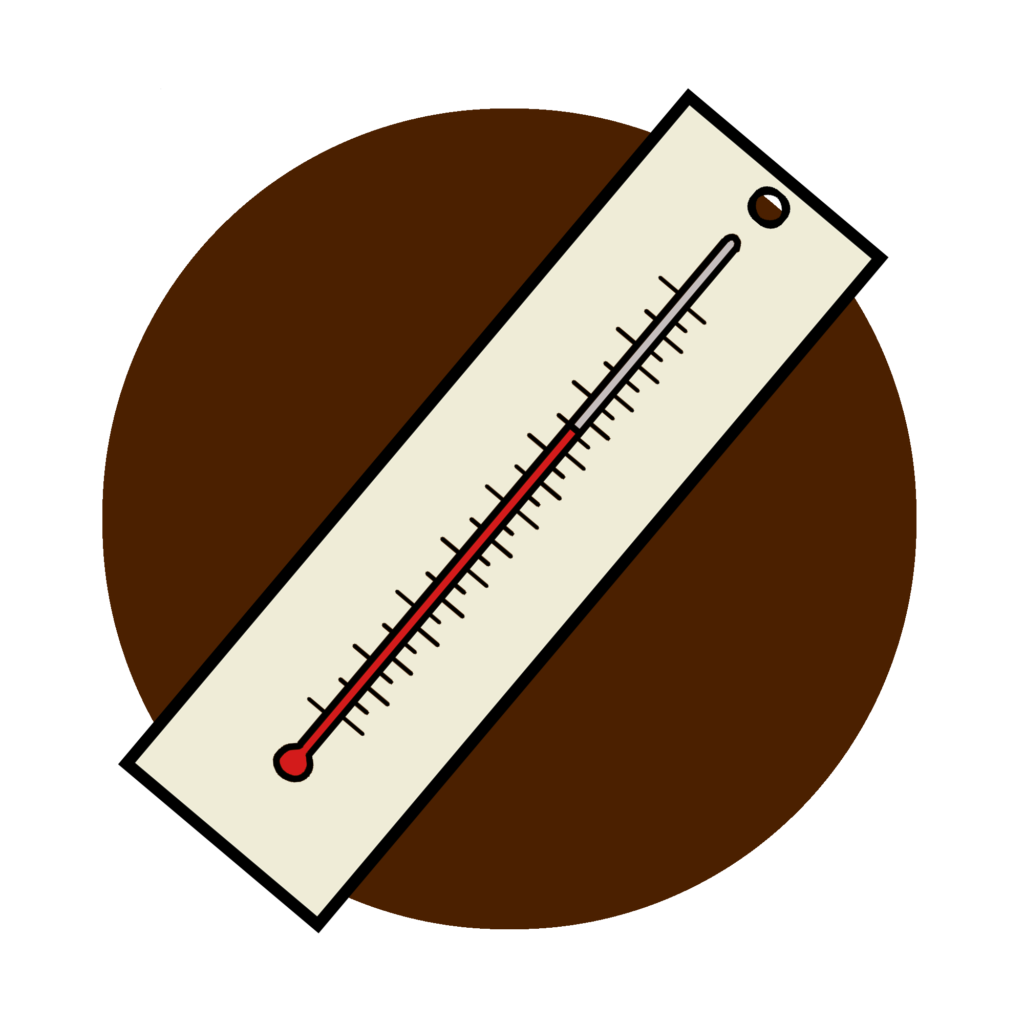
Thermometer - Measures temperature chemically
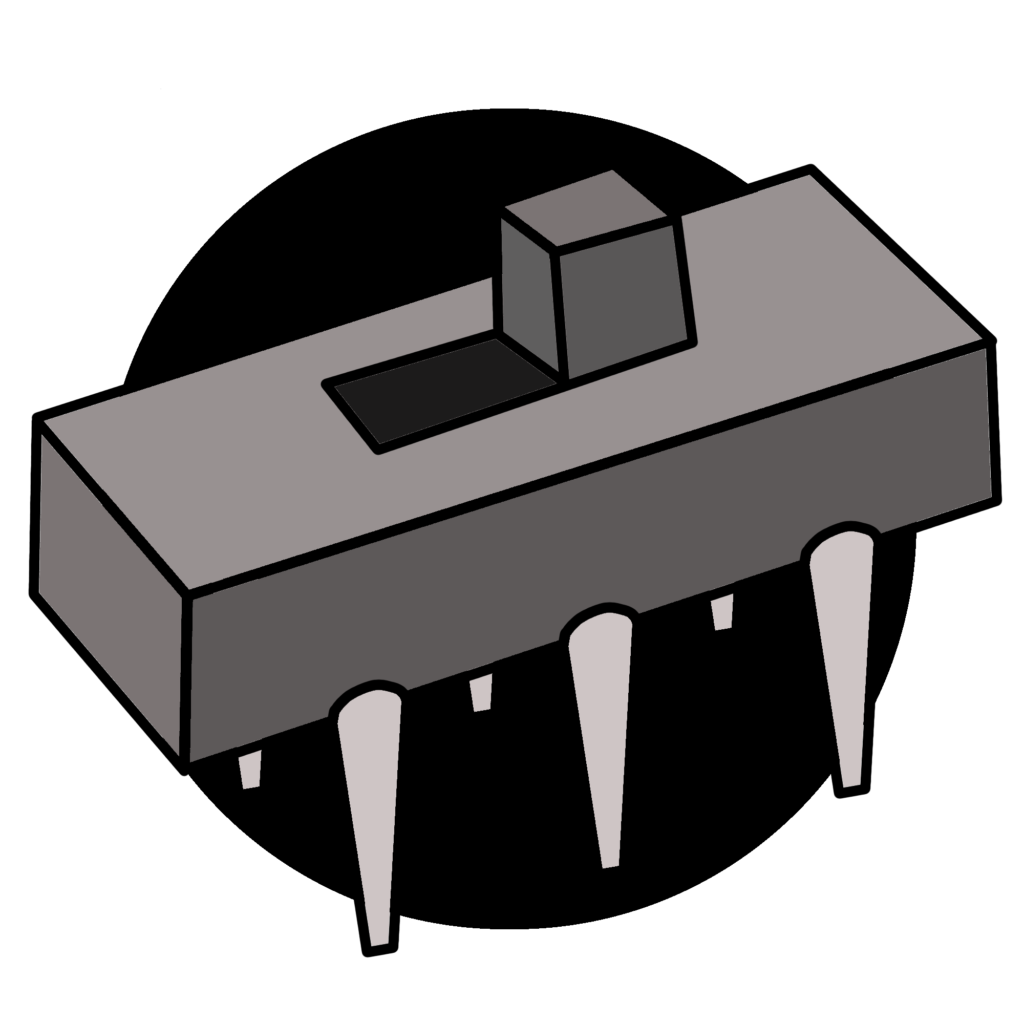
6-pin Micro Slide Switch
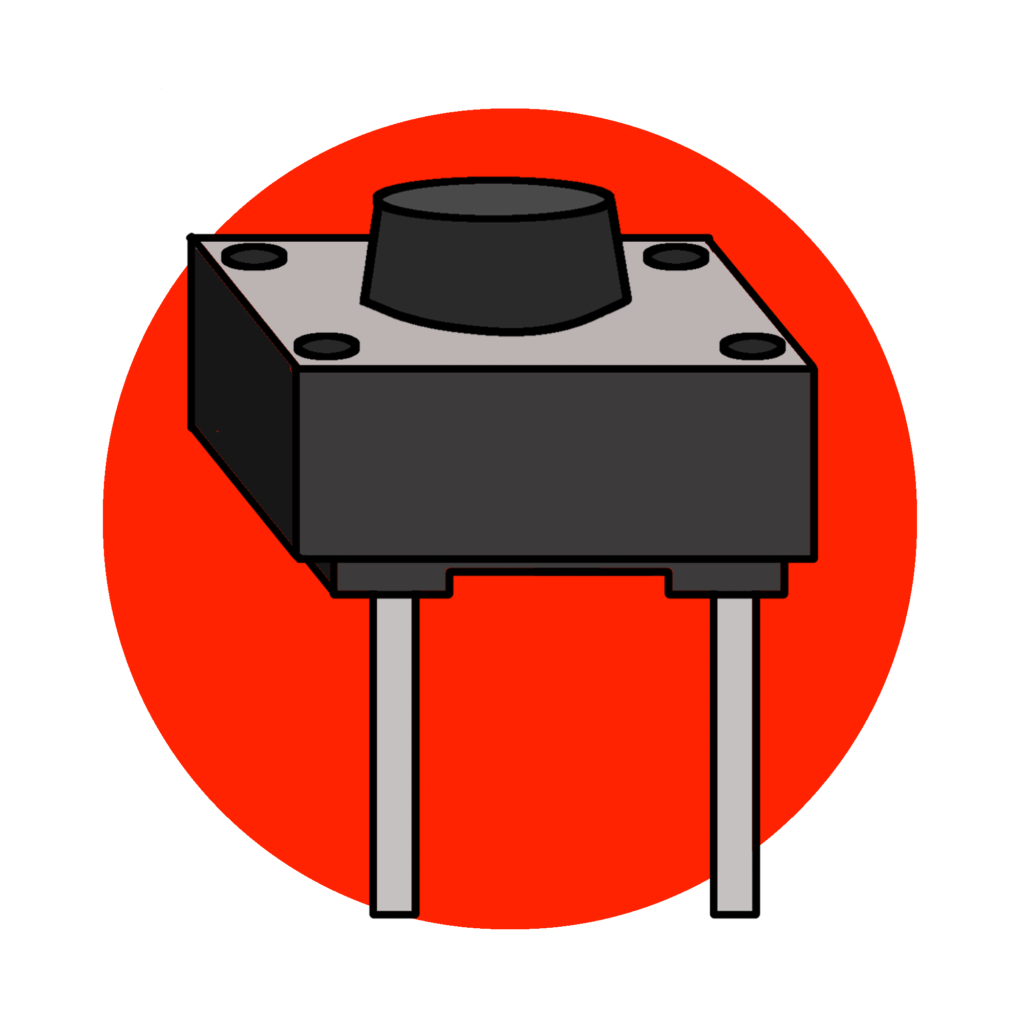
Button - Turns a circuit on and off
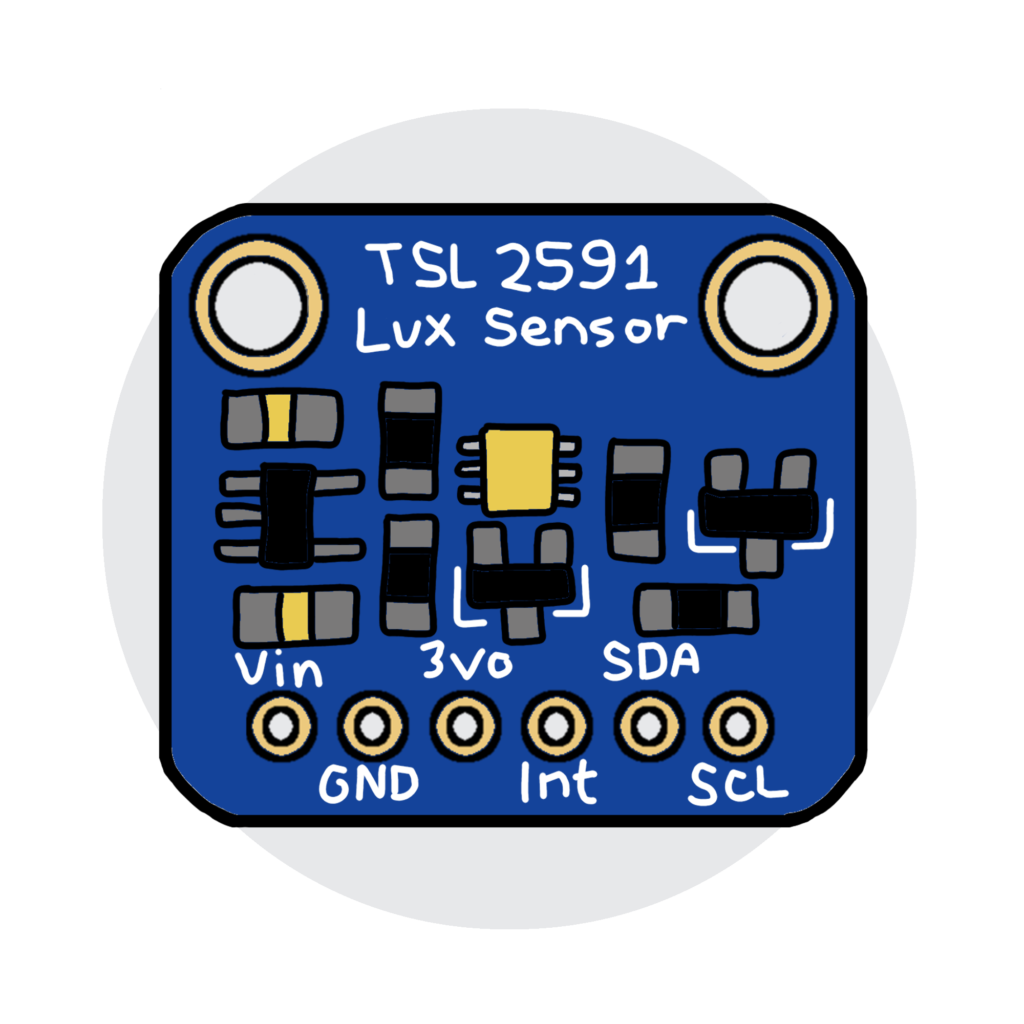
Light sensor - Measures light intensity
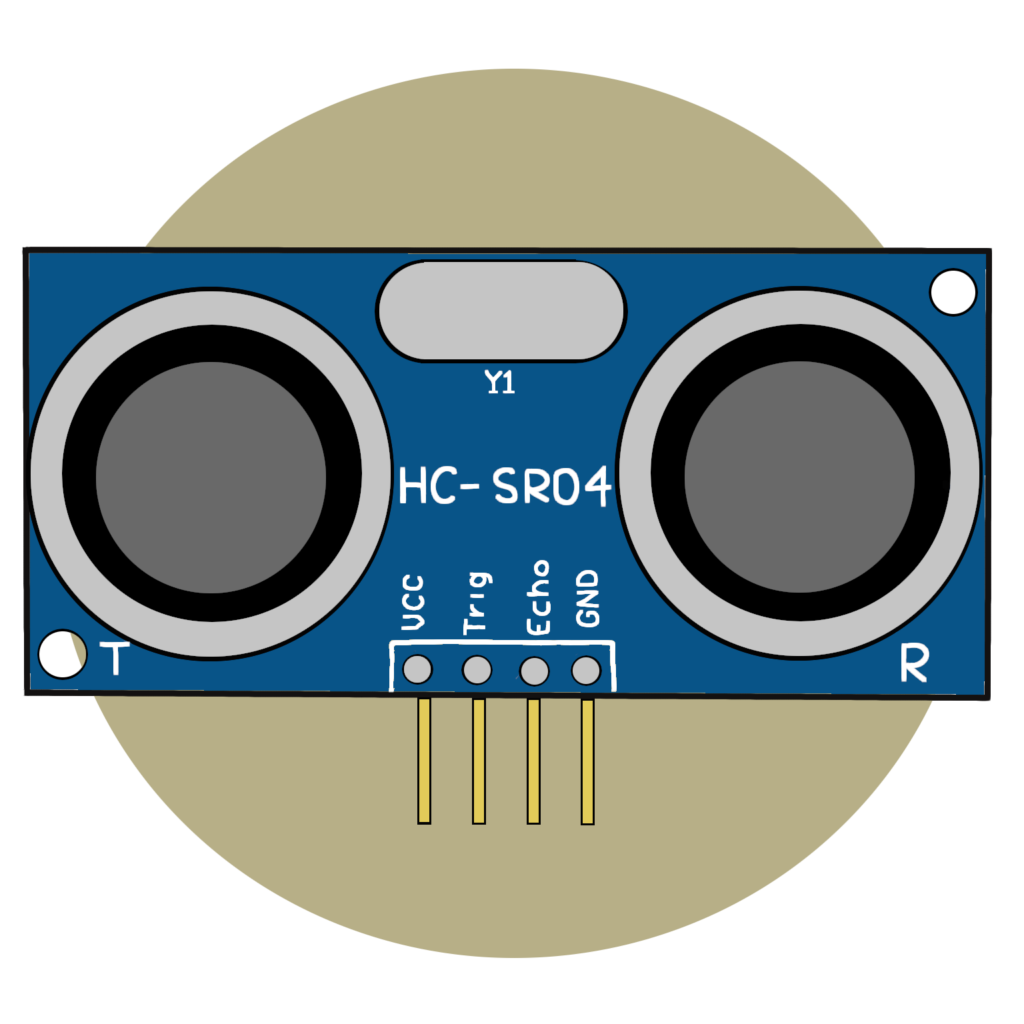
Acoustic sensor - Measures distance using sound waves
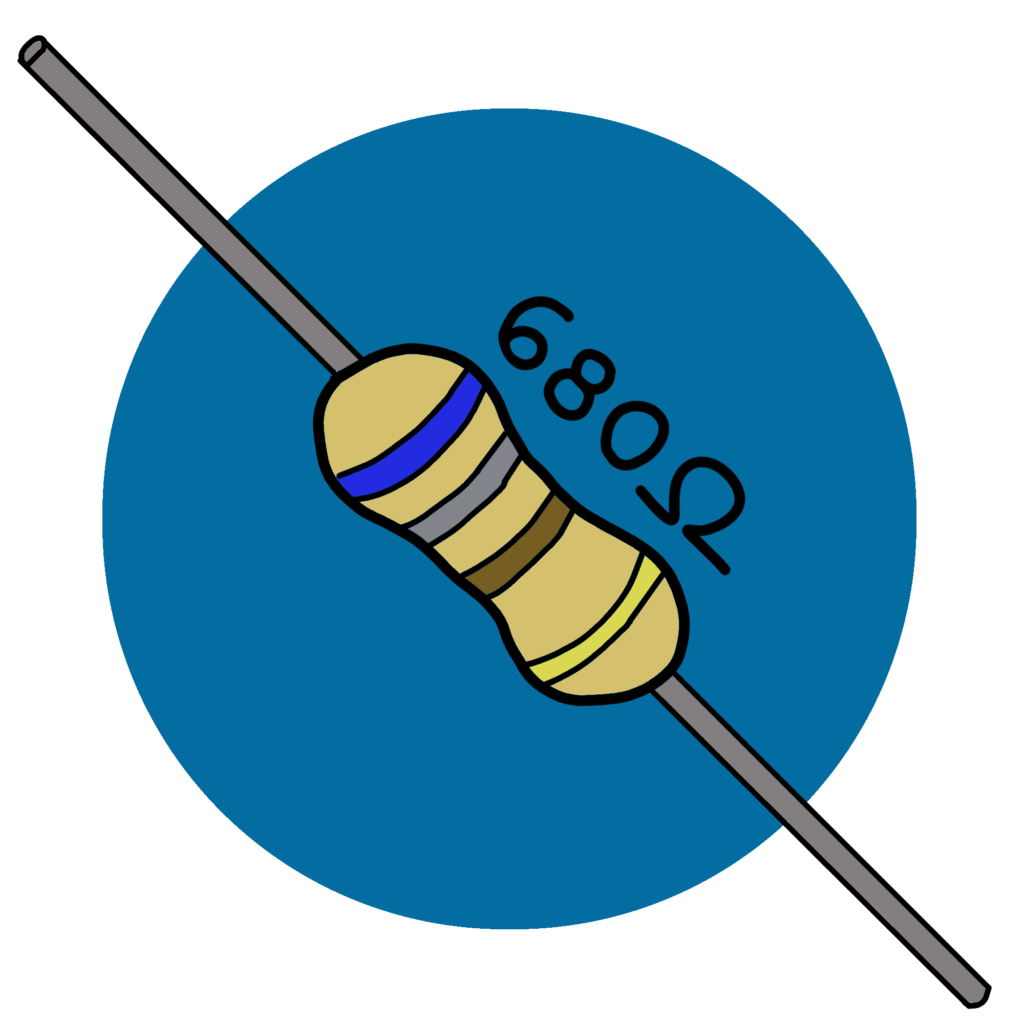
680 Ohm Resistor - Restricts electricity through a circuit
4.7K Ohm Resistor - Restricts electricity through a circuit
220K Ohm Resistor - Restricts electricity through a circuit
Resistors of different values, measured in Ohms (Ω), are identified by different color bands. Before adding a resistor to a circuit, make sure the bands match the icon and color code. To learn more about what the different colors mean, check out the Resistor Guide on the Sensor Help Page.
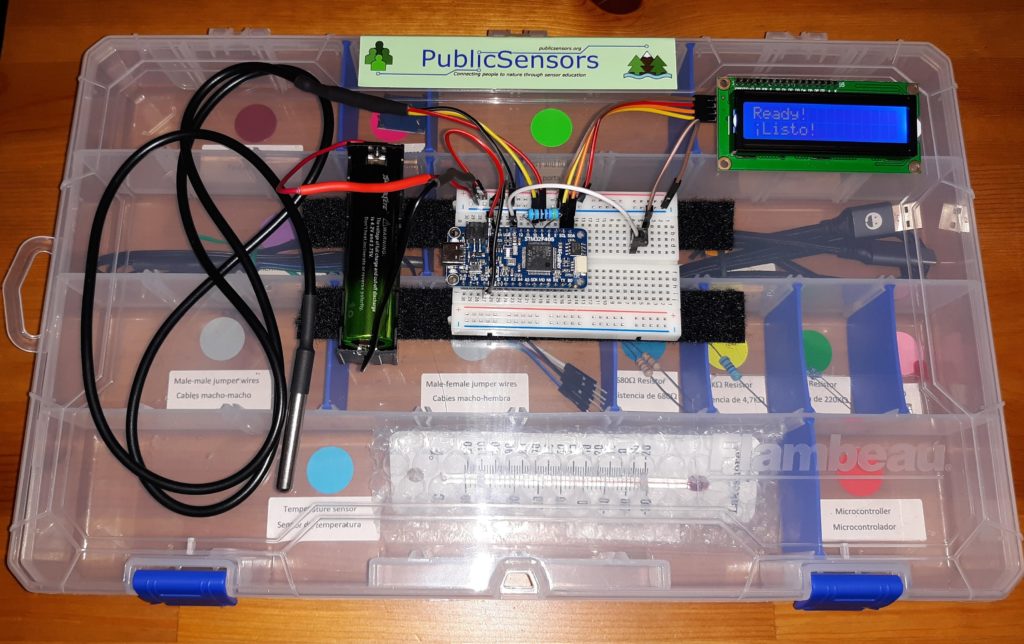
Your materials come in a plastic box which also serves as a workstation. There is Velcro on the top of the kit box and on the bottom of some materials like the breadboard and the battery holder to help keep your sensor in place as you construct it. The example below shows an assembled temperature sensor on the kit box workstation.